
Metal & Hybrid Products · MGT-WC-011-01
Pet ID Tag · Reference 01
A development reference for Pet Identification Tag programs focused on visible pet identification and coordinated collar accessory programs. Material, construction, dimensions and testing remain project decisions.
Add this SKU to an inquiry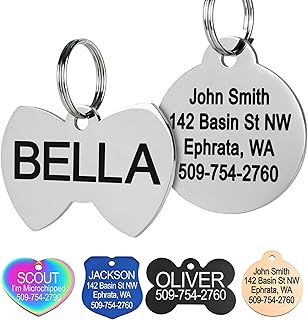
01
Technical snapshot
- Typical material system
- Typical options include stainless-steel hardware, coated carbon-steel structure, transparent or translucent polycarbonate component. The final system is selected against the buyer brief and approved sample.
- Typical process route
- metal section preparation -> wire or tube forming -> welding and joint finishing -> surface treatment -> hardware assembly and dimensional inspection
- Key buyer decision
- Confirm tag size, marking content, attachment ring, edge finish and target visual lifetime before sampling.
02
Reference variant observation
The image presents bow-shaped tags on split rings, with one large front example and several smaller color and engraving layouts below.
The image is a market-reference input. Visible form may inform planning, but it does not confirm material, construction, performance, ownership or compliance.
Planning questions
- Which visible form and component arrangement should the buyer brief retain?
- Which opening, closure, carry, or presentation detail should sampling compare first?
03
Material options
Material comparison
| Material selection | Typical material system | Trade-offs |
|---|---|---|
| stainless-steel hardware | stainless-steel hardware may suit Pet Identification Tag when small connectors, rings or fasteners need a metal option selected with finish and environment in mind. |
|
| coated carbon-steel structure | coated carbon-steel structure may suit Pet Identification Tag when a rigid frame, formed wire or tube construction and controlled surface finish are needed. |
|
| transparent or translucent polycarbonate component | transparent or translucent polycarbonate component may suit Pet Identification Tag when visibility through a molded component is part of the user or inspection concept. |
|
04
Manufacturing route
- 01
Confirm section geometry, material family, joint map and intended finish before tooling.
- 02
Cut and form wire, tube or sheet components within project-defined dimensional tolerances.
- 03
Weld or mechanically join the frame, then finish junctions and exposed edges.
- 04
Apply the selected surface treatment with attention to coverage at joints and contact zones.
- 05
Assemble doors, hinges, latches or connectors and inspect alignment, gaps and handling.
05
Design for manufacturing
- Design joint locations around clear load paths and accessible, repeatable joining operations.
- Control openings, moving gaps and wire ends to reduce pinch, entrapment and sharp-edge risks.
- Provide coating access and drainage around welds, corners and overlapping parts.
- Balance folded pack volume, assembly steps and connector robustness when a collapsible format is planned.
06
Quality controls
- Risk
- Misalignment may prevent doors, panels or connectors from engaging consistently.
- Control point
- Use dimensional fixtures and inspect critical diagonals, openings and connector positions.
- Risk
- Incomplete welds or rough joint finishing may create weak or sharp locations.
- Control point
- Define weld appearance criteria and inspect joint continuity and accessible edges.
- Risk
- Thin or damaged surface treatment may expose the substrate in joints and wear zones.
- Control point
- Inspect coverage, finish uniformity and handling damage against the approved visual standard.
- Risk
- Latch or hinge variation may affect opening effort and retention.
- Control point
- Run project-defined functional checks across representative assembled units.
07
Customization scope
- tag outline, thickness and hole position
- marking layout, finish color and attachment-ring format
- color standards, branding method and visible finish boundaries
- retail pack format, assortment quantity, labels and buyer-supplied documentation
08
Buyer checklist
- intended pet size, behavior and use scenario for the Pet Identification Tag
- critical finished dimensions, fit method and acceptable dimensional tolerance
- preferred material direction, cleaning method, appearance standard and approved sample
- target market and channel, required tests or documents, packaging and expected project volume
09
Buyer FAQ
Which material is best for this Pet Identification Tag?
There is no universal best option. Select against the use environment, cleaning route, tactile and appearance brief, structural interfaces, packaging and target cost, then confirm the choice with an approved sample.
What should be resolved before the first sample?
Start with the intended use, critical dimensions, preferred construction, material candidates, component interfaces, cleaning method, visible finish, branding and pack format. For this family, the key decision is: Confirm tag size, marking content, attachment ring, edge finish and target visual lifetime before sampling.
How is quality controlled without treating guidance as a confirmed specification?
Convert the selected options into measurable project requirements, approve a representative sample, define incoming, in-process and final inspection points, and retain material and lot traceability required by the buyer.
10
Related products
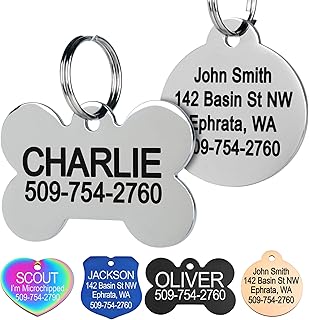 Pet ID Tag · Reference 02A development reference for Pet Identification Tag programs focused on visible pet identification and coordinated collar accessory programs. Material, construction, dimensions and testing remain project decisions.
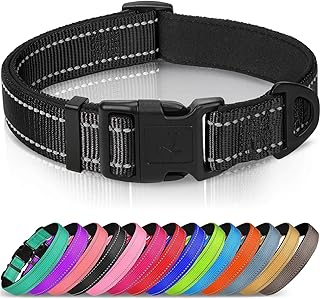 Everyday Pet Collar · Reference 02Pet Collar is a complementary family for use-case, material-platform or coordinated-assortment planning.
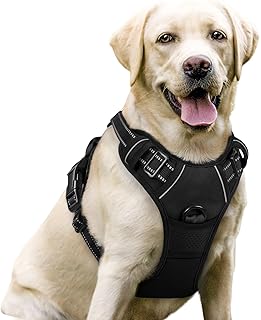 No-Pull Pet Harness · Reference 01Pet Harness is a complementary family for use-case, material-platform or coordinated-assortment planning.
Add this SKU to an inquiry
visible pet identification and coordinated collar accessory programs
Add this SKU to an inquiry