
Plastic & Electronics · MGT-HT-053-01
Pet Training Clicker · Reference 01
A development reference for Pet Training Clicker programs focused on handheld marker-training accessory concepts focused on repeatable actuation, handling and retail simplicity. Material, construction, dimensions and testing remain project decisions.
Add this SKU to an inquiry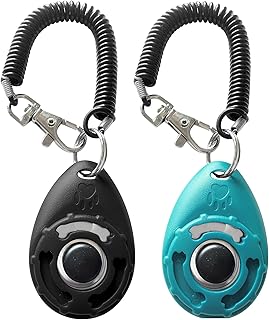
01
Technical snapshot
- Typical material system
- Typical options include injection-molded ABS, injection-molded polypropylene, stainless-steel hardware. The final system is selected against the buyer brief and approved sample.
- Typical process route
- resin and component definition -> mold and part preparation -> injection molding -> mechanism and hardware assembly -> functional and appearance inspection
- Key buyer decision
- Confirm housing geometry, button travel, target sound character, wrist-strap interface, surface finish and packaging; sound output remains a sample-level choice.
02
Reference variant observation
The image shows two oval handheld clickers, each connected to a coiled wrist tether and a small clip, with a central round press area.
The image is a market-reference input. Visible form may inform planning, but it does not confirm material, construction, performance, ownership or compliance.
Planning questions
- Which visible form and component arrangement should the buyer brief retain?
- Which opening, closure, carry, or presentation detail should sampling compare first?
03
Material options
Material comparison
| Material selection | Typical material system | Trade-offs |
|---|---|---|
| injection-molded ABS | injection-molded ABS may suit Pet Training Clicker when a rigid molded housing with controlled surface detail is being evaluated. |
|
| injection-molded polypropylene | injection-molded polypropylene may suit Pet Training Clicker when an integrated thermoplastic shell or connector with repeatable molded geometry is desired. |
|
| stainless-steel hardware | stainless-steel hardware may suit Pet Training Clicker when small connectors, rings or fasteners need a metal option selected with finish and environment in mind. |
|
04
Manufacturing route
- 01
Confirm resin family, surface target, moving interfaces and component stack before tool release.
- 02
Develop molded geometry with appropriate wall transitions, draft, ribs and controlled parting lines.
- 03
Mold parts using project-approved process settings and retain representative samples for assembly review.
- 04
Assemble springs, metal contacts, buttons, straps or labels in a controlled sequence.
- 05
Inspect actuation, sound or movement consistency, surface quality and packaging protection.
05
Design for manufacturing
- Keep wall transitions gradual and place ribs or bosses to support function without unnecessary sink risk.
- Provide draft and parting-line placement that protect tactile and visible surfaces.
- Control clearances at moving features to balance reliable actuation and unwanted play.
- Design service or assembly access without creating exposed sharp edges or loose small parts.
06
Quality controls
- Risk
- Molded warpage or dimensional drift may change mechanism alignment.
- Control point
- Measure critical interfaces and verify assembled function on representative molded lots.
- Risk
- Flash, gate vestige or rough parting lines may affect handling.
- Control point
- Define tactile and visual acceptance criteria for user-contact surfaces.
- Risk
- Spring, button or connector variation may produce inconsistent actuation.
- Control point
- Control incoming components and run a project-defined functional check after assembly.
- Risk
- Loose components or label placement may interfere with use or retail presentation.
- Control point
- Inspect assembly completeness, label position and pack restraint at final inspection.
07
Customization scope
- housing size and contour, button size and travel, grip texture
- sound-element architecture, wrist strap, color blocking and display pack
- color standards, branding method and visible finish boundaries
- retail pack format, assortment quantity, labels and buyer-supplied documentation
08
Buyer checklist
- intended pet size, behavior and use scenario for the Pet Training Clicker
- critical finished dimensions, fit method and acceptable dimensional tolerance
- preferred material direction, cleaning method, appearance standard and approved sample
- target market and channel, required tests or documents, packaging and expected project volume
09
Buyer FAQ
Which material is best for this Pet Training Clicker?
There is no universal best option. Select against the use environment, cleaning route, tactile and appearance brief, structural interfaces, packaging and target cost, then confirm the choice with an approved sample.
What should be resolved before the first sample?
Start with the intended use, critical dimensions, preferred construction, material candidates, component interfaces, cleaning method, visible finish, branding and pack format. For this family, the key decision is: Confirm housing geometry, button travel, target sound character, wrist-strap interface, surface finish and packaging; sound output remains a sample-level choice.
How is quality controlled without treating guidance as a confirmed specification?
Convert the selected options into measurable project requirements, approve a representative sample, define incoming, in-process and final inspection points, and retain material and lot traceability required by the buyer.
10
Related products
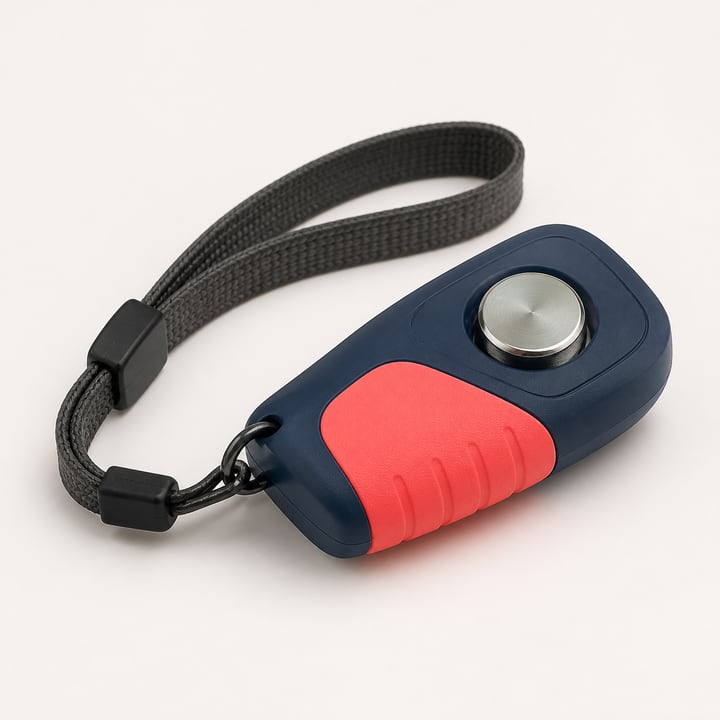 Pet Training Clicker · Reference 02A development reference for Pet Training Clicker programs focused on handheld marker-training accessory concepts focused on repeatable actuation, handling and retail simplicity. Material, construction, dimensions and testing remain project decisions.
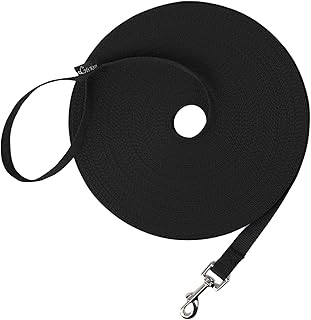 Long-Line Training Leash · Reference 01Training Lead is a complementary family for use-case, material-platform or coordinated-assortment planning.
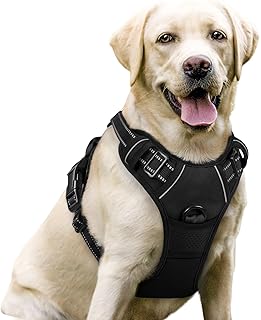 No-Pull Pet Harness · Reference 01Pet Harness is a complementary family for use-case, material-platform or coordinated-assortment planning.
Add this SKU to an inquiry
handheld marker-training accessory concepts focused on repeatable actuation, handling and retail simplicity
Add this SKU to an inquiry